
before you play for the first time
Unboxing Your Flute
There are a few things that are important to understand before you begin to play your flute. When your flute arrives, it will need to have the block adjusted. You will need to understand which holes to put your fingers on, which fingers to use to cover them, and which hand goes where. If you take the time to watch the video clips or read about these factors first, you will avoid a bunch of frustration.
Purpose and Position
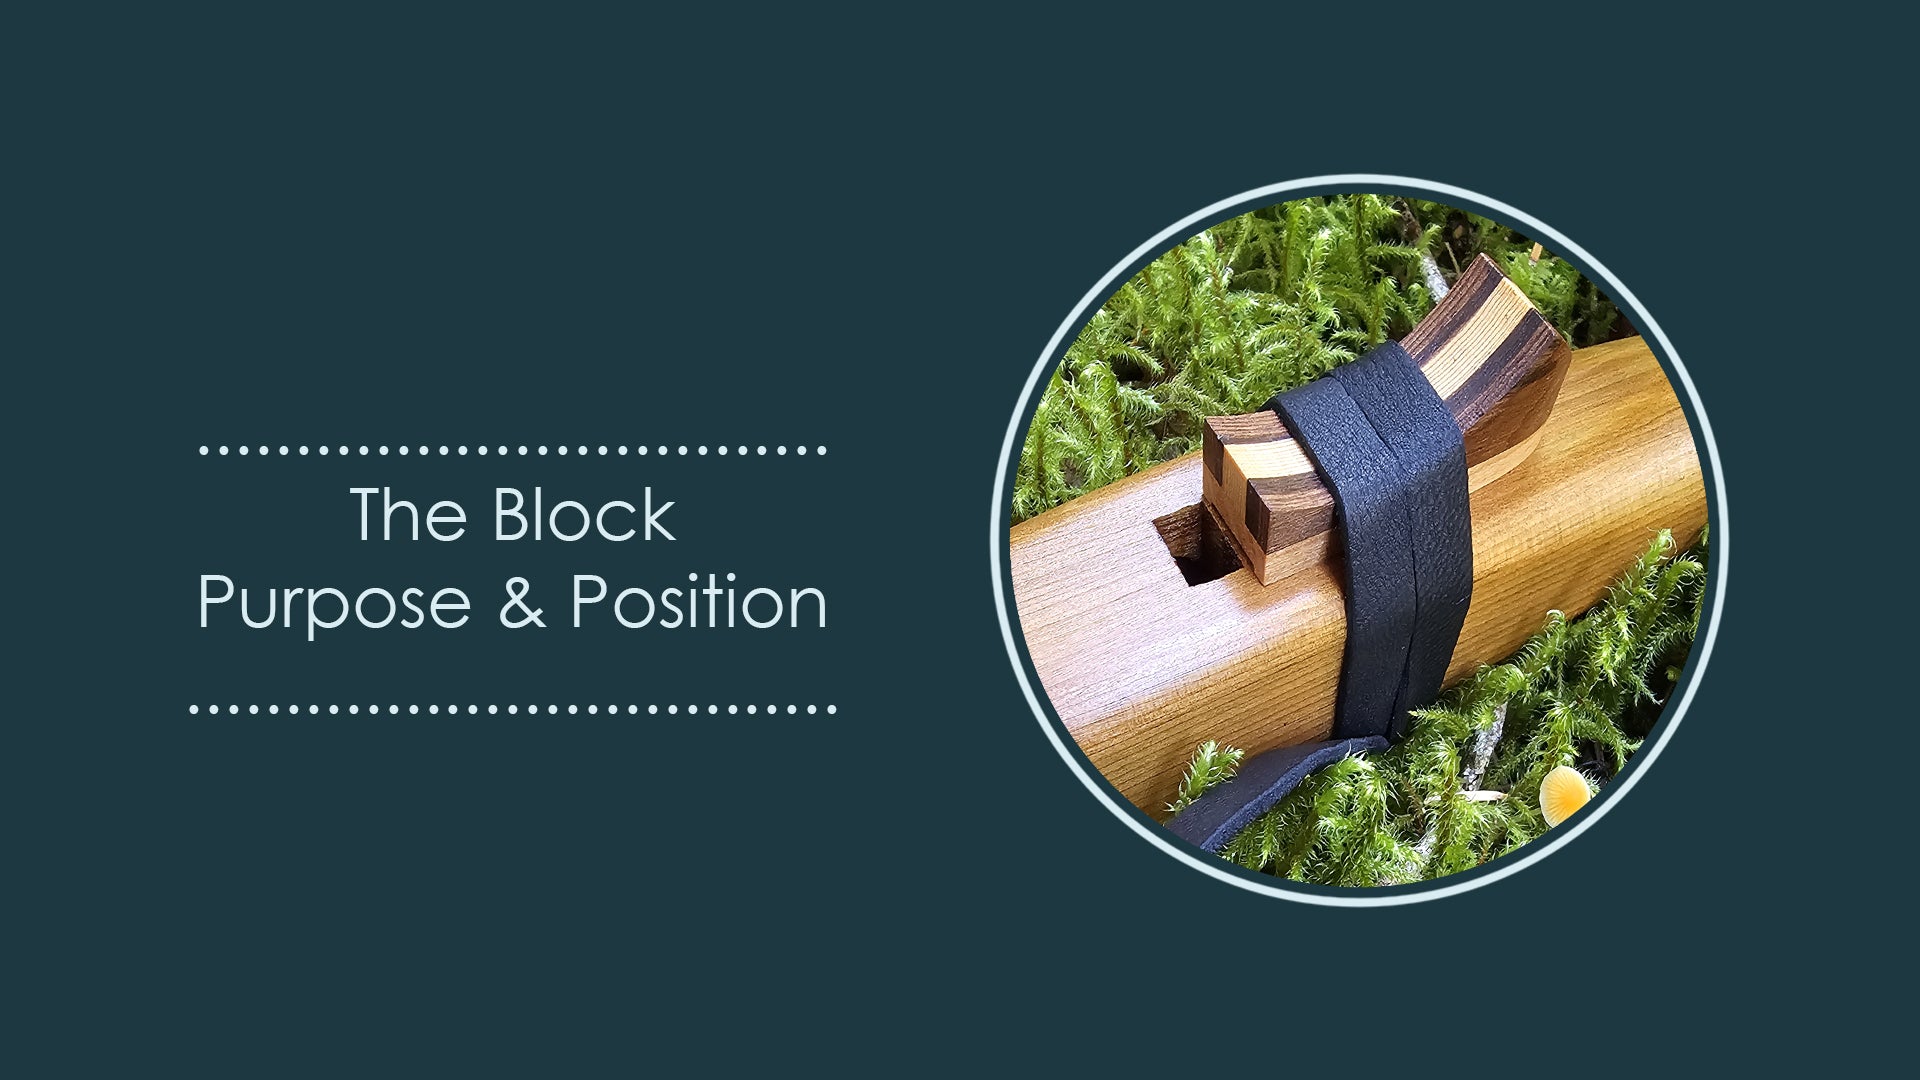
The Block
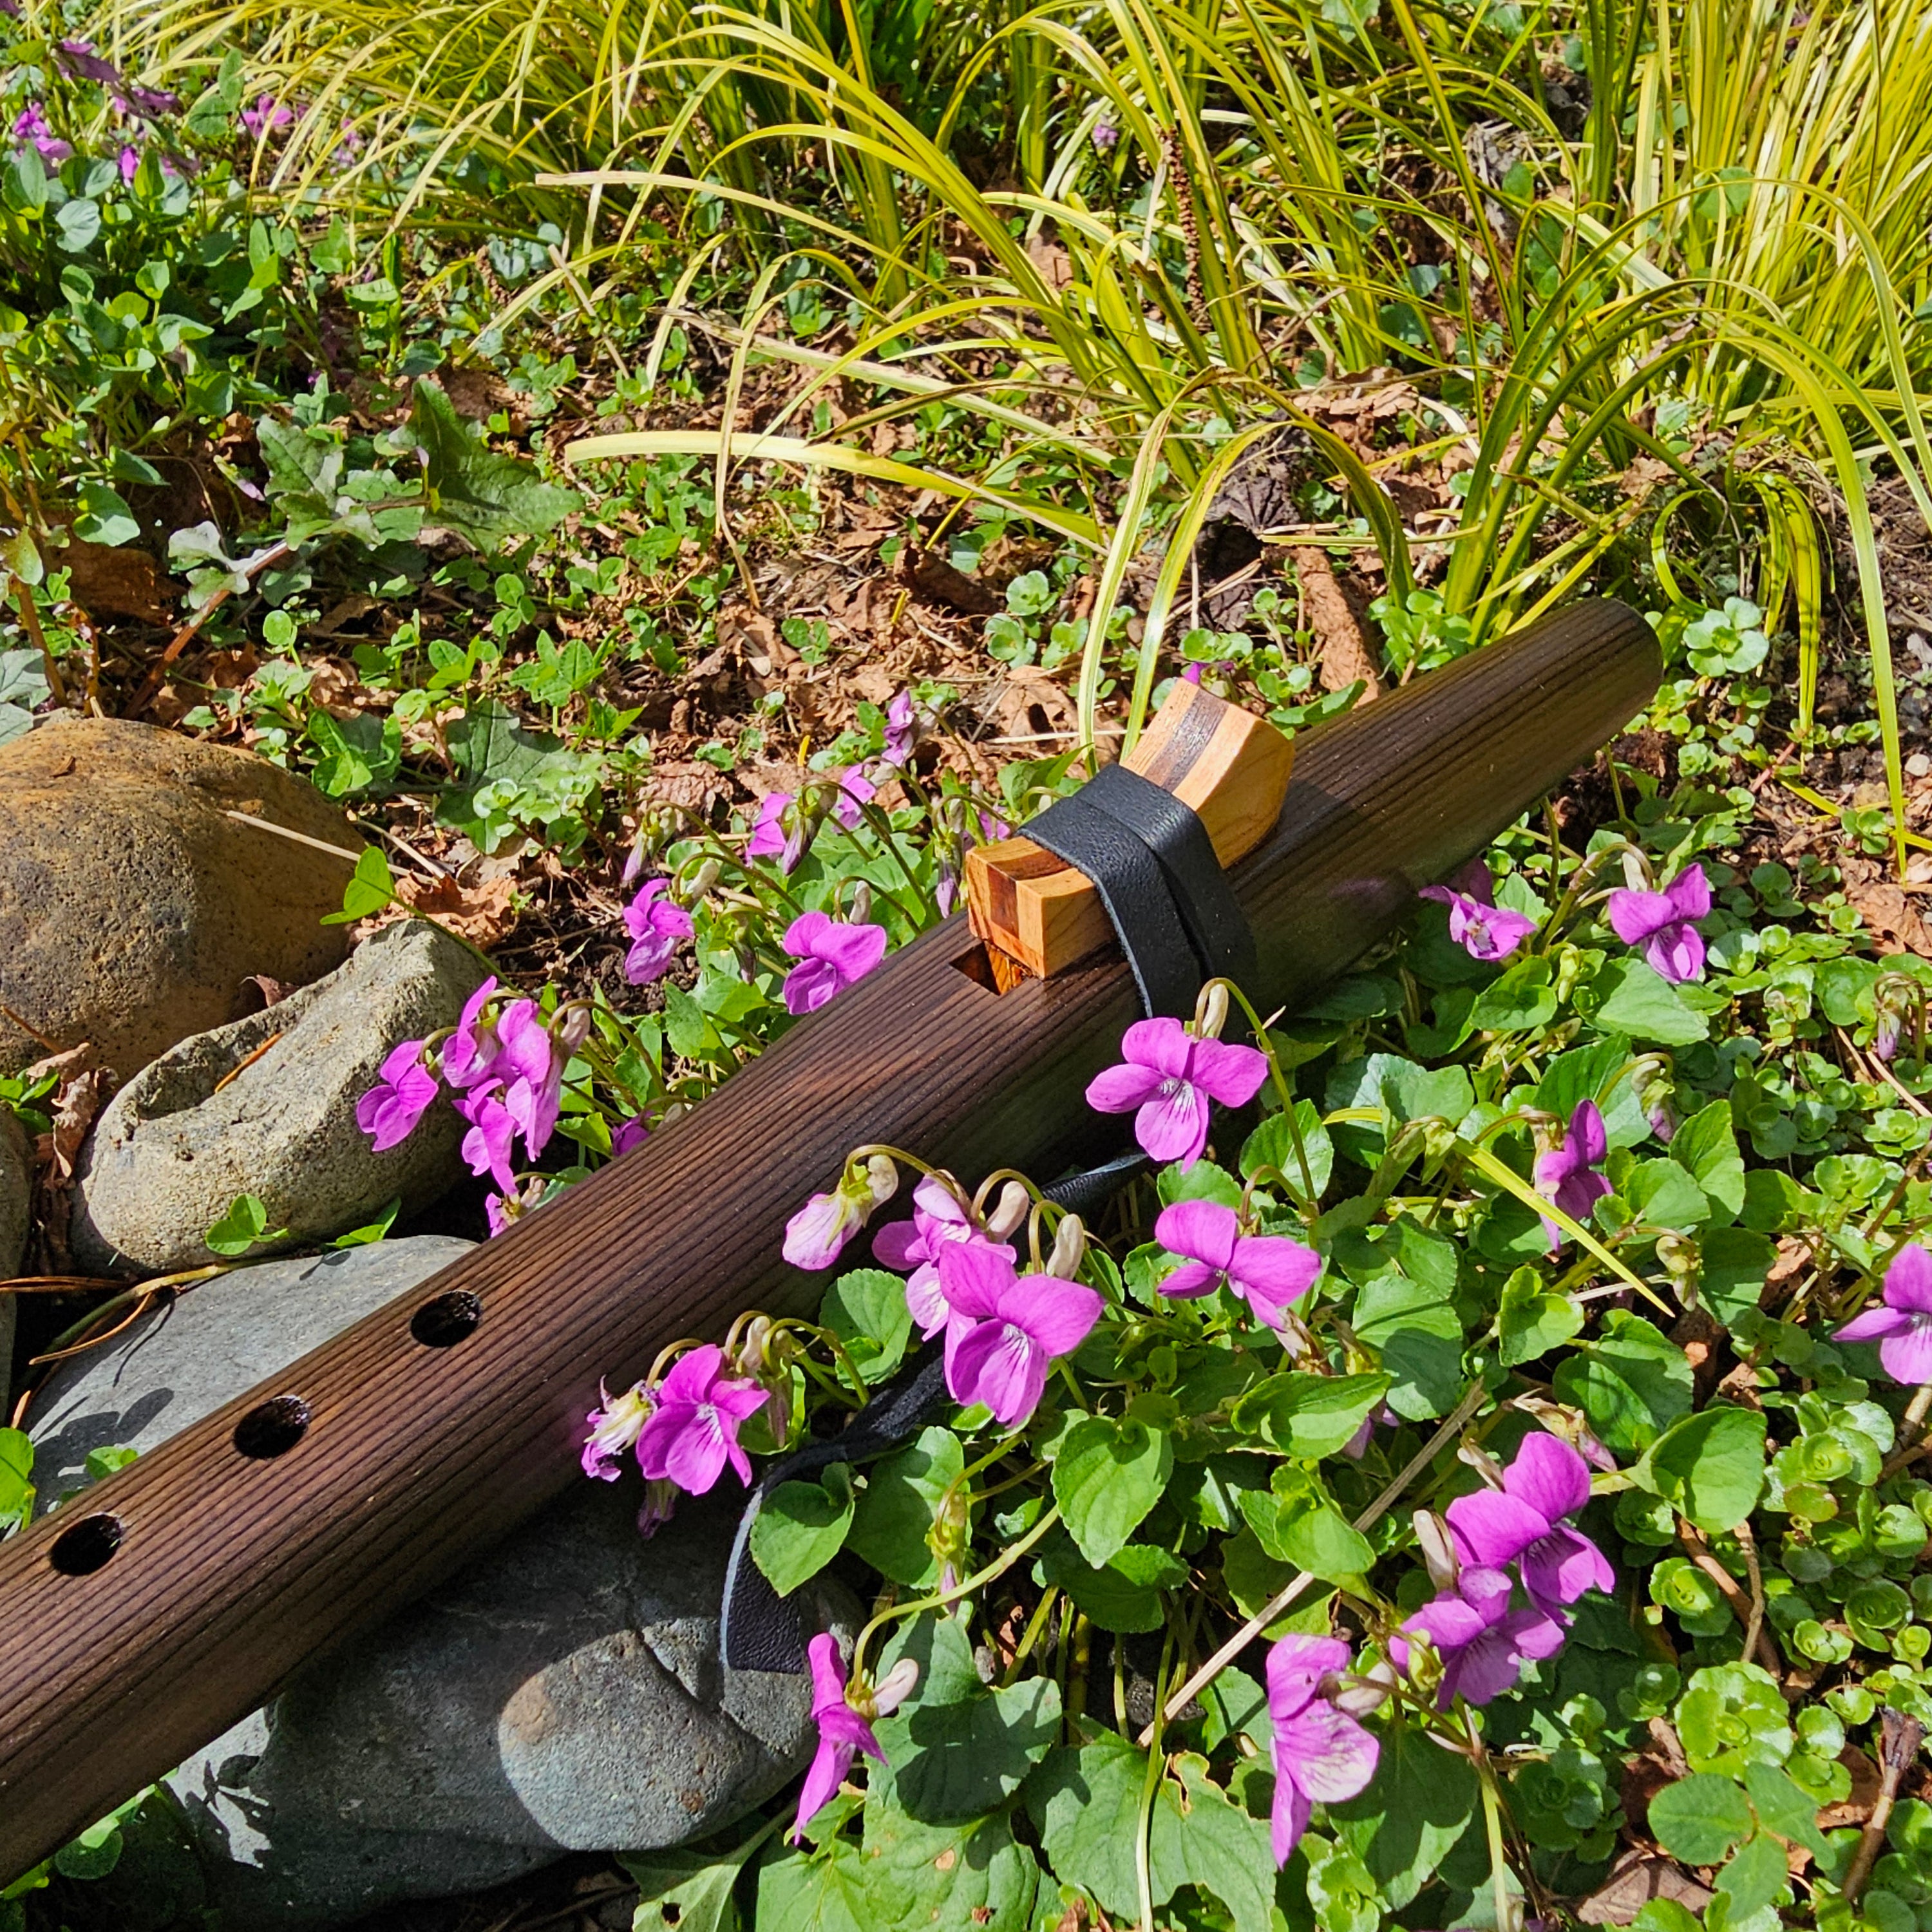
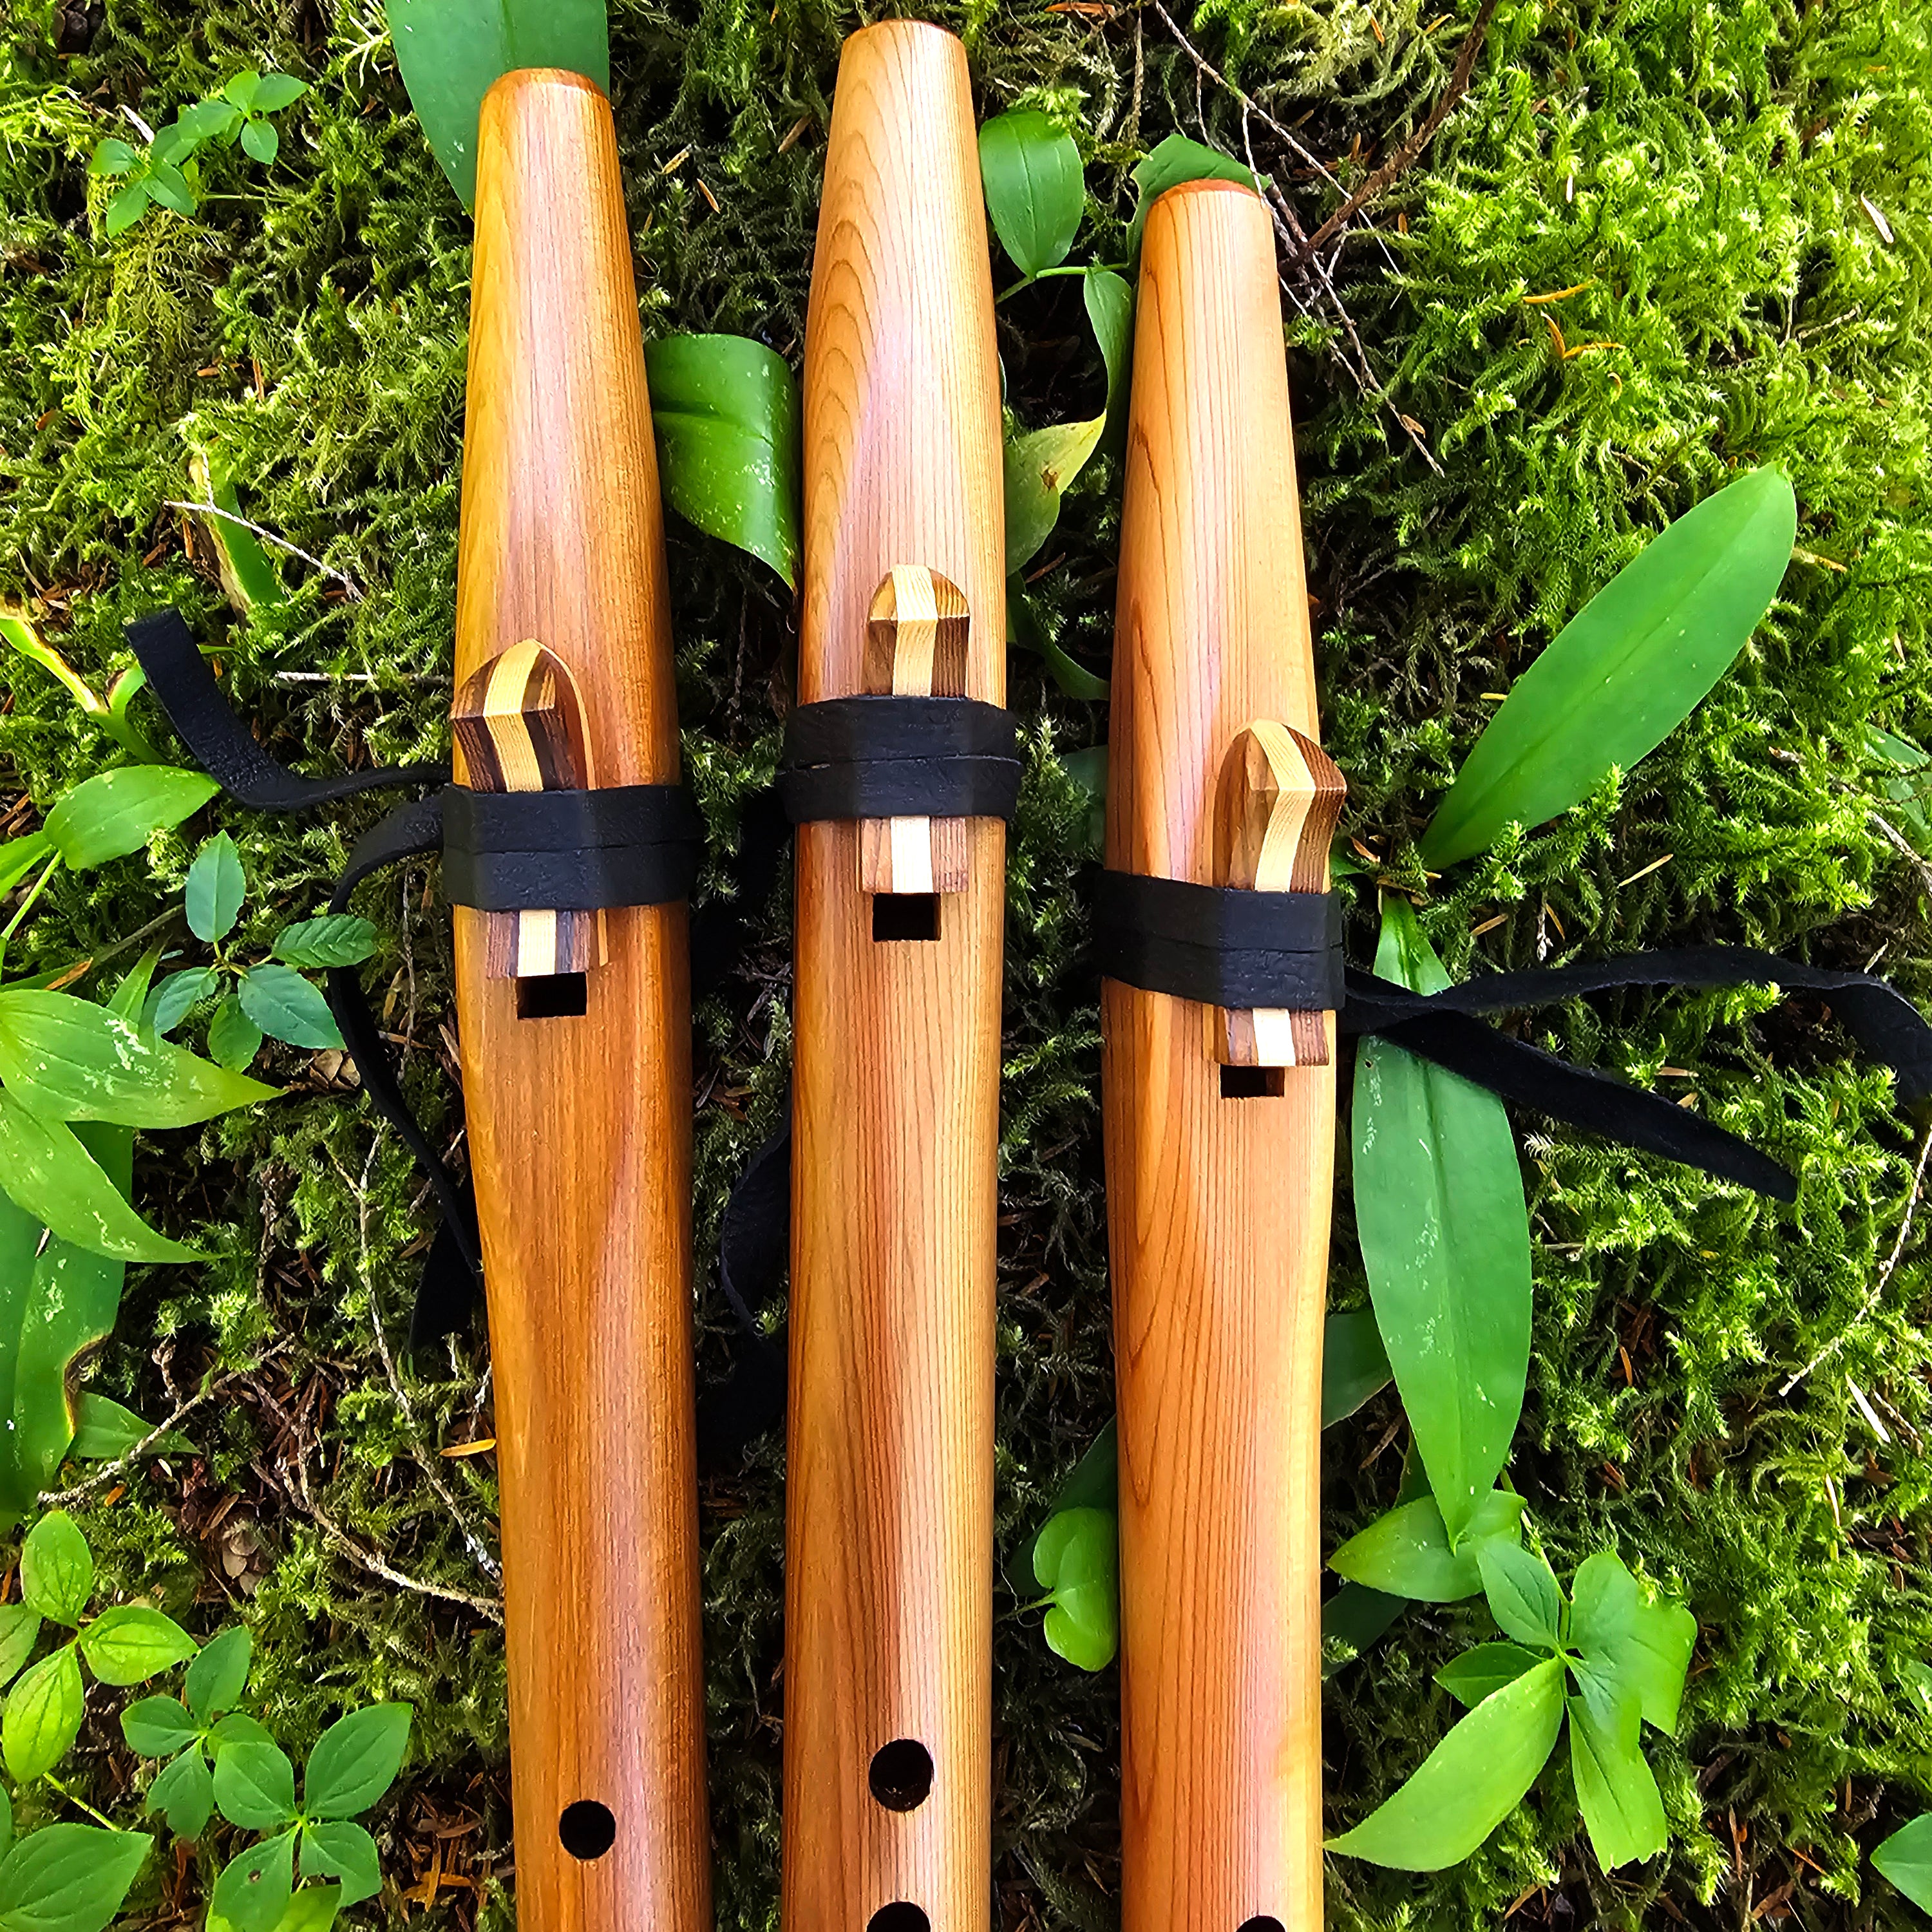
The block is the piece that is tied to the top of your flute. It’s purpose is to channel the air you blow through the mouth hole, across the square front fipple hole to create sound. When the block is in the wrong position, or not on your flute at all, your flute will not make sound or it will sound bad.
Tip: The pointy end of the block will face the mouth end of the flute and the flat end of the block will face the finger holes. The square hole closest to the finger holes(yes there are two square holes) will be completely visible, take a look at the flutes to the left.
Tip: Don't knot the leather, when it is tied on properly, you will be able to pull both tails to tighten it.
In the video below, I demonstrate the blocks function and show how to properly place it on the flute.
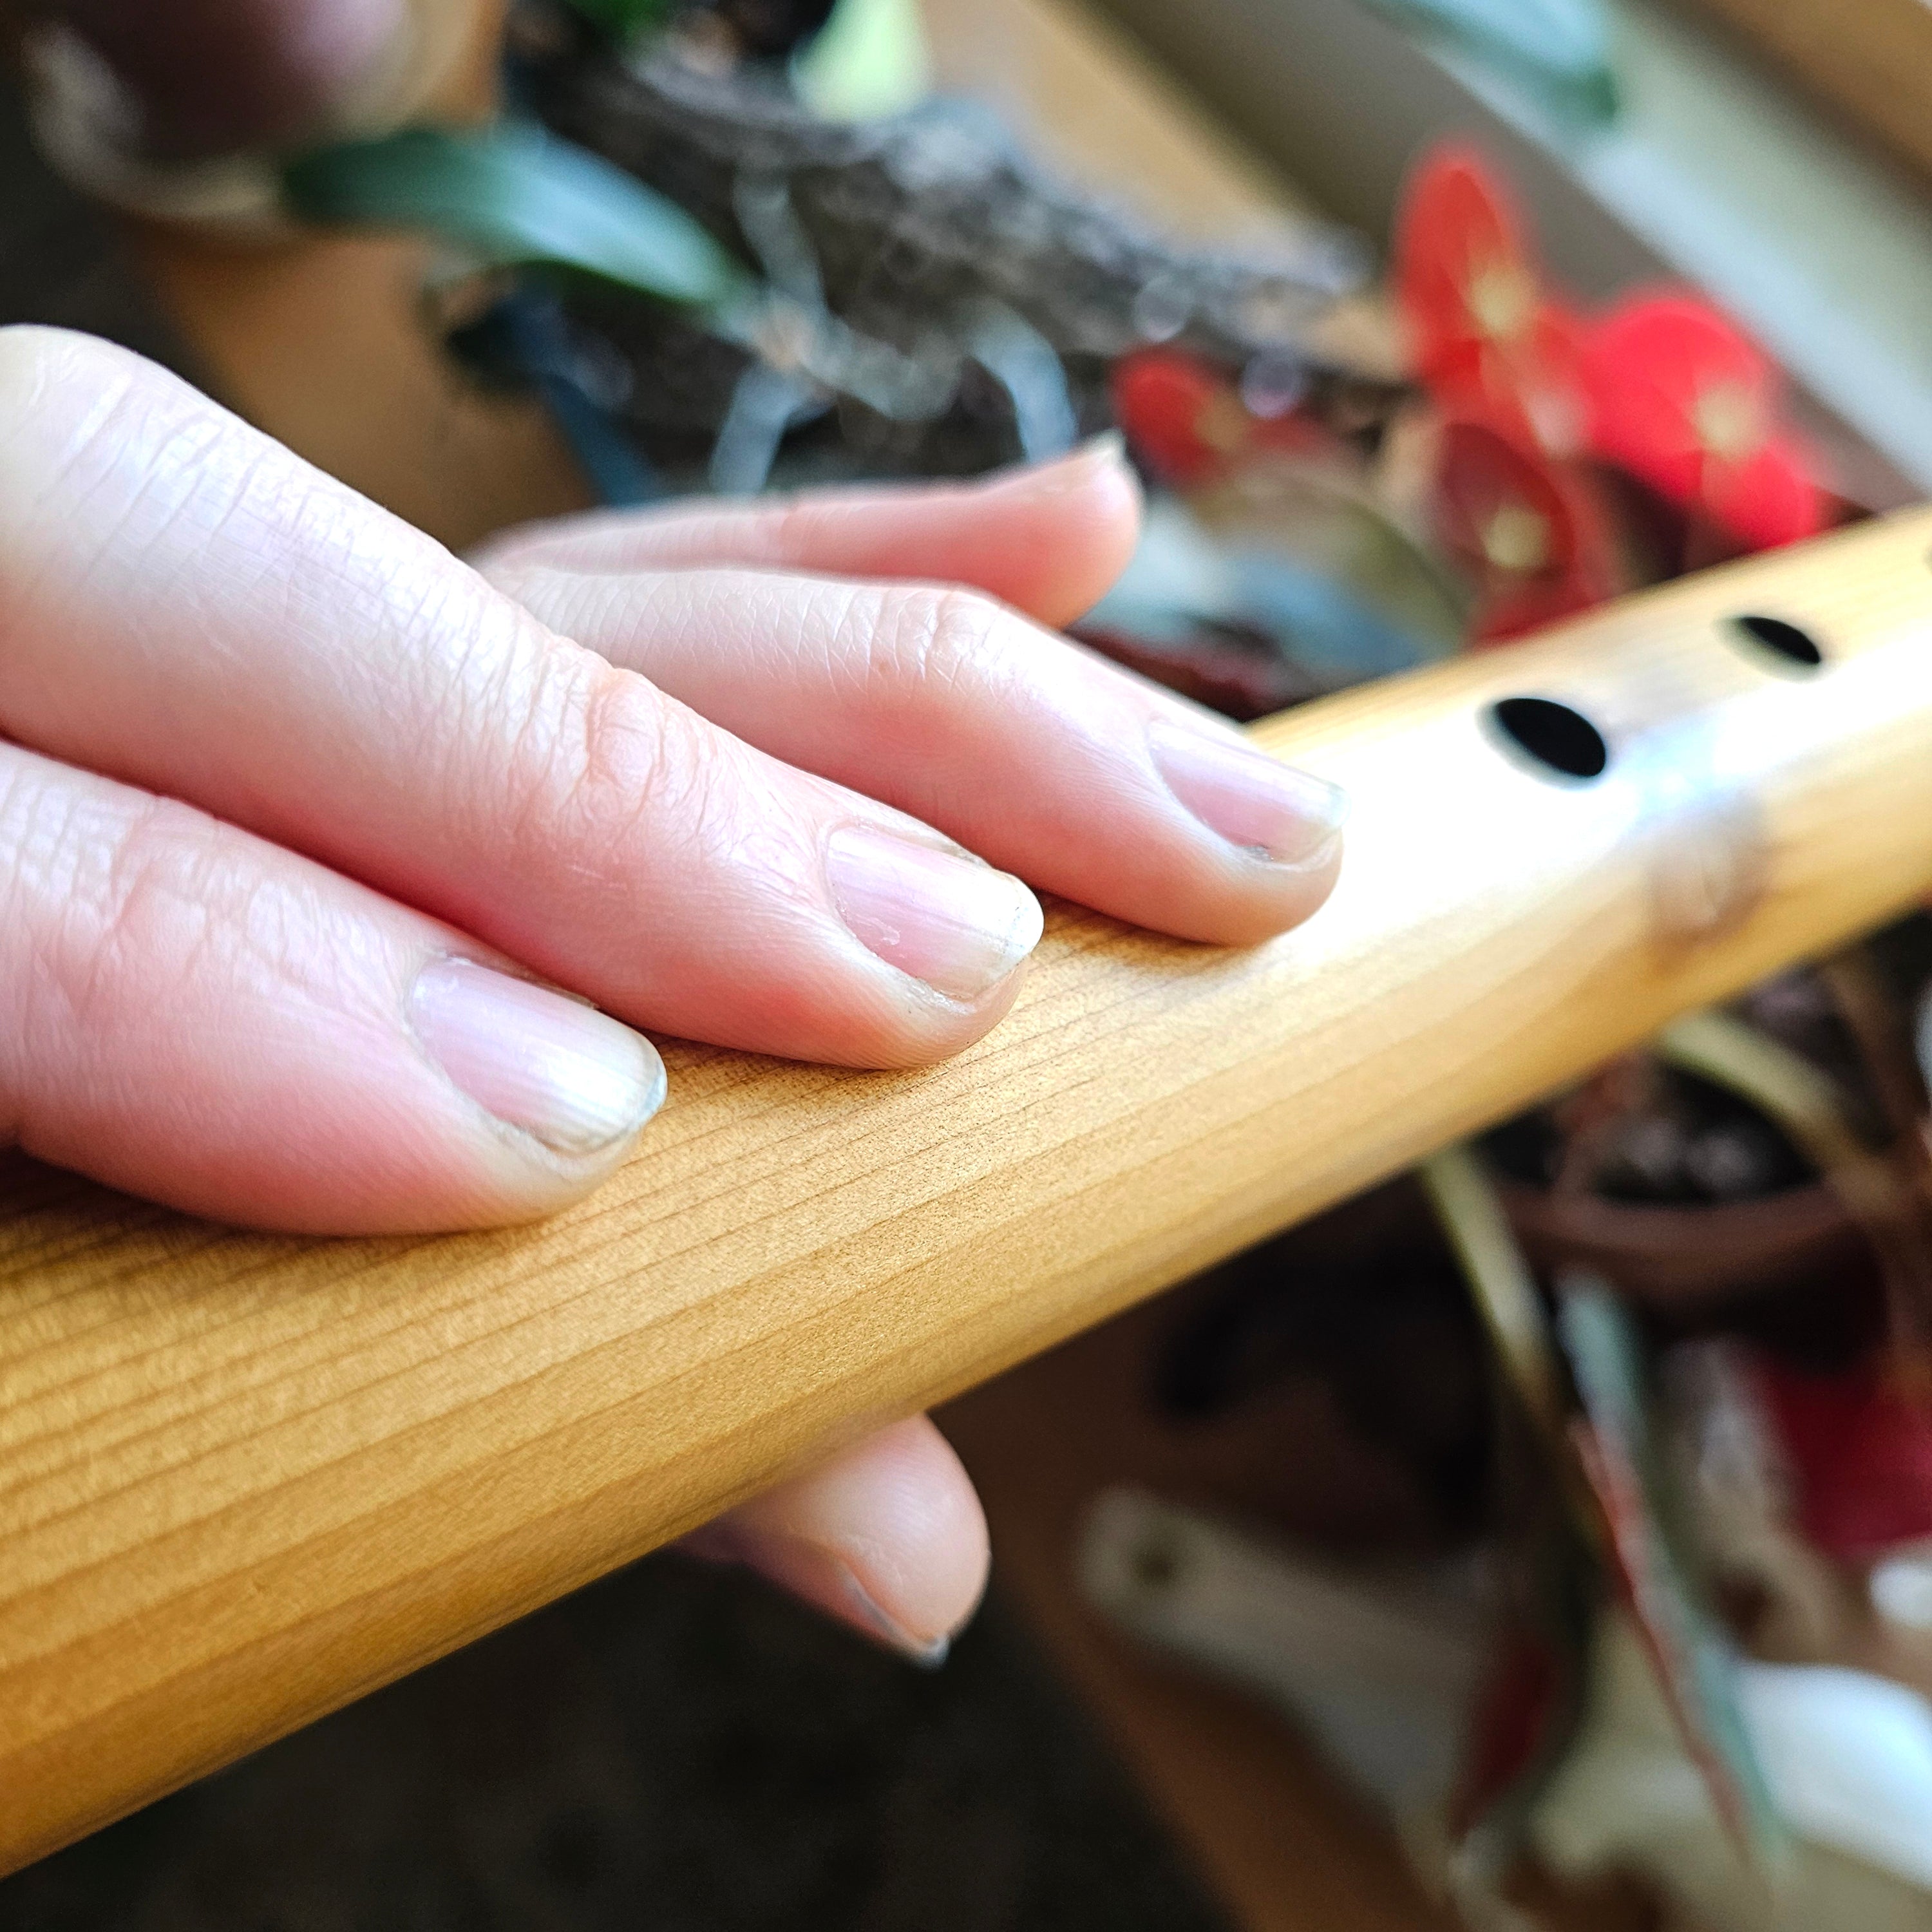
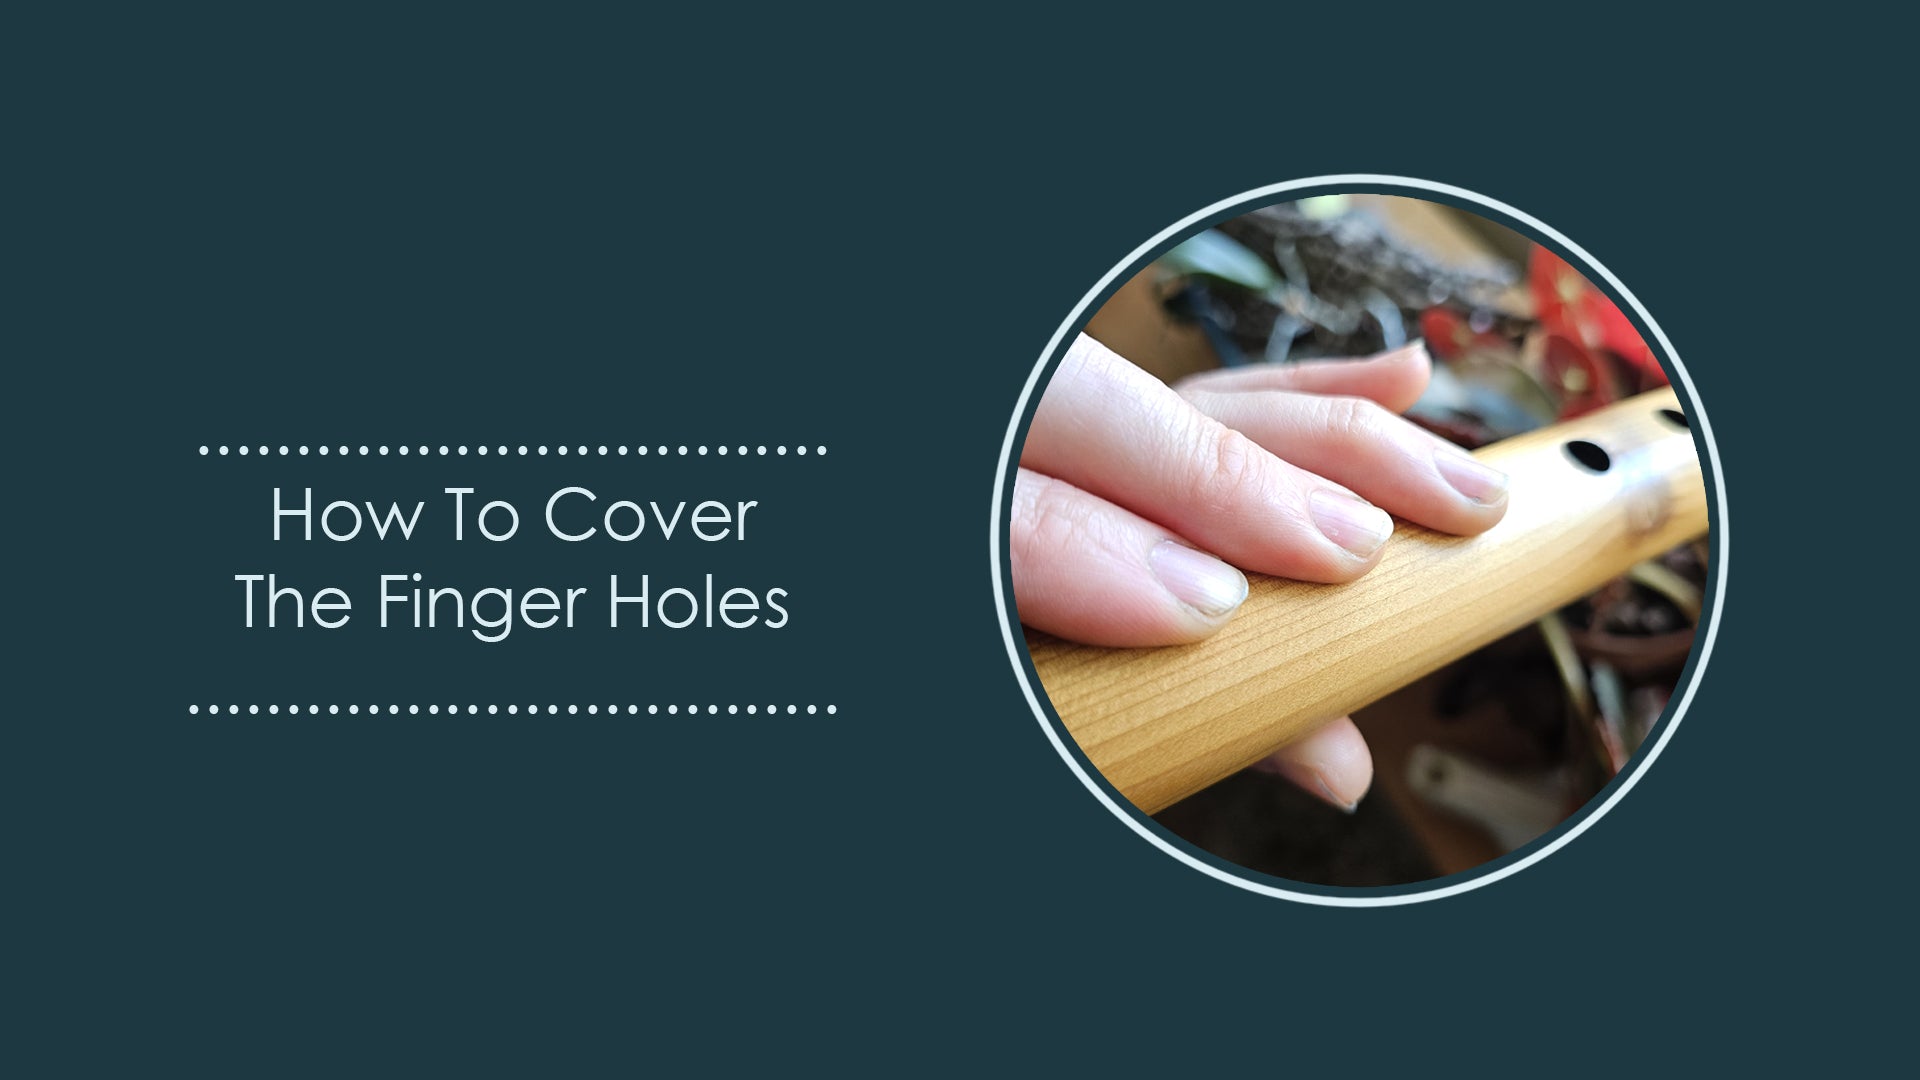
Finger Holes and Hand Orientation
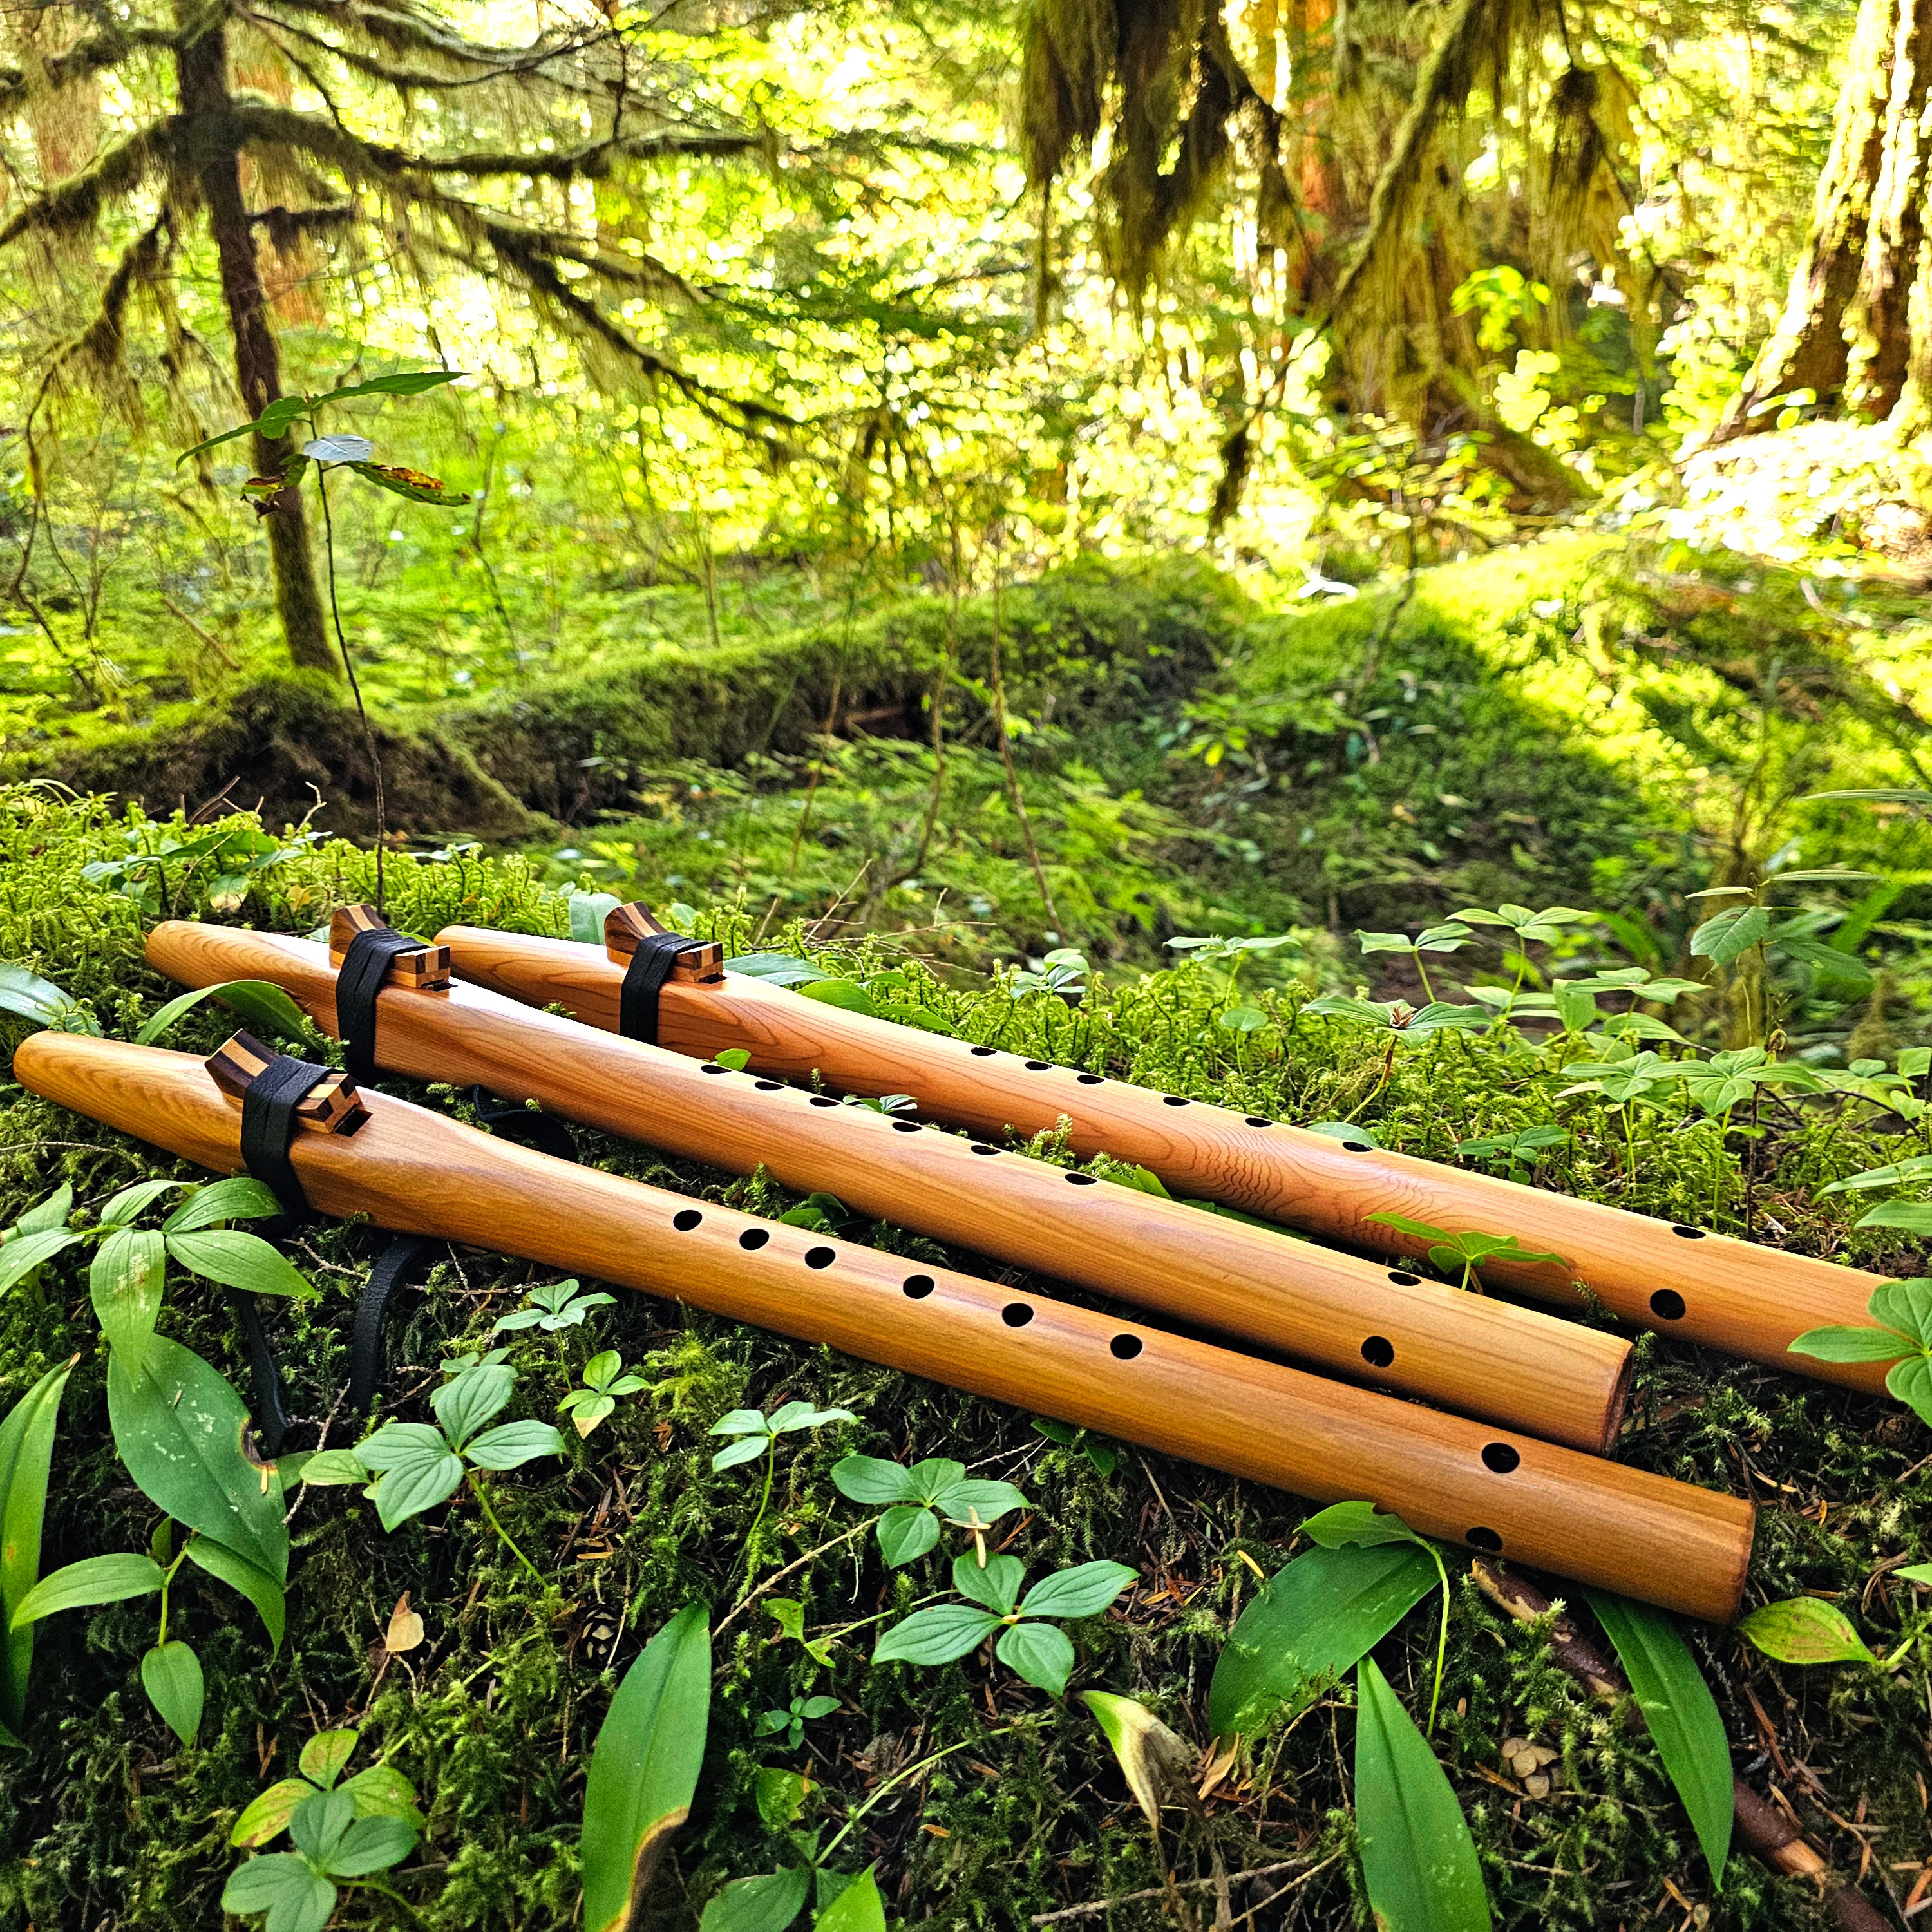
Your new flute has six finger holes. Some customers are very confused by the four holes around the foot of the flute, but worry not, these are not meant to be covered while you play. They are tuning holes that are only used when the flute is being made.
Cover the six holes with you index, middle , and ring fingers on each hand. To determine which hand should be on top (covering the highest three holes) , try holding the flute both ways, left hand on top and right hand on top. One of these options will feel more comfortable and that is the way you should play the flute.
Finger Placement
Now that you know which fingers to use, you need to learn how to place your fingers on the holes. If you play piano, you have been taught to play with the tips of your fingers, but playing the flute is a bit different. You will place the pad of each finger on the hole. This meaty part of your finger is much more capable of sealing the holes.
Watch the video below to see how to correctly place your fingers.
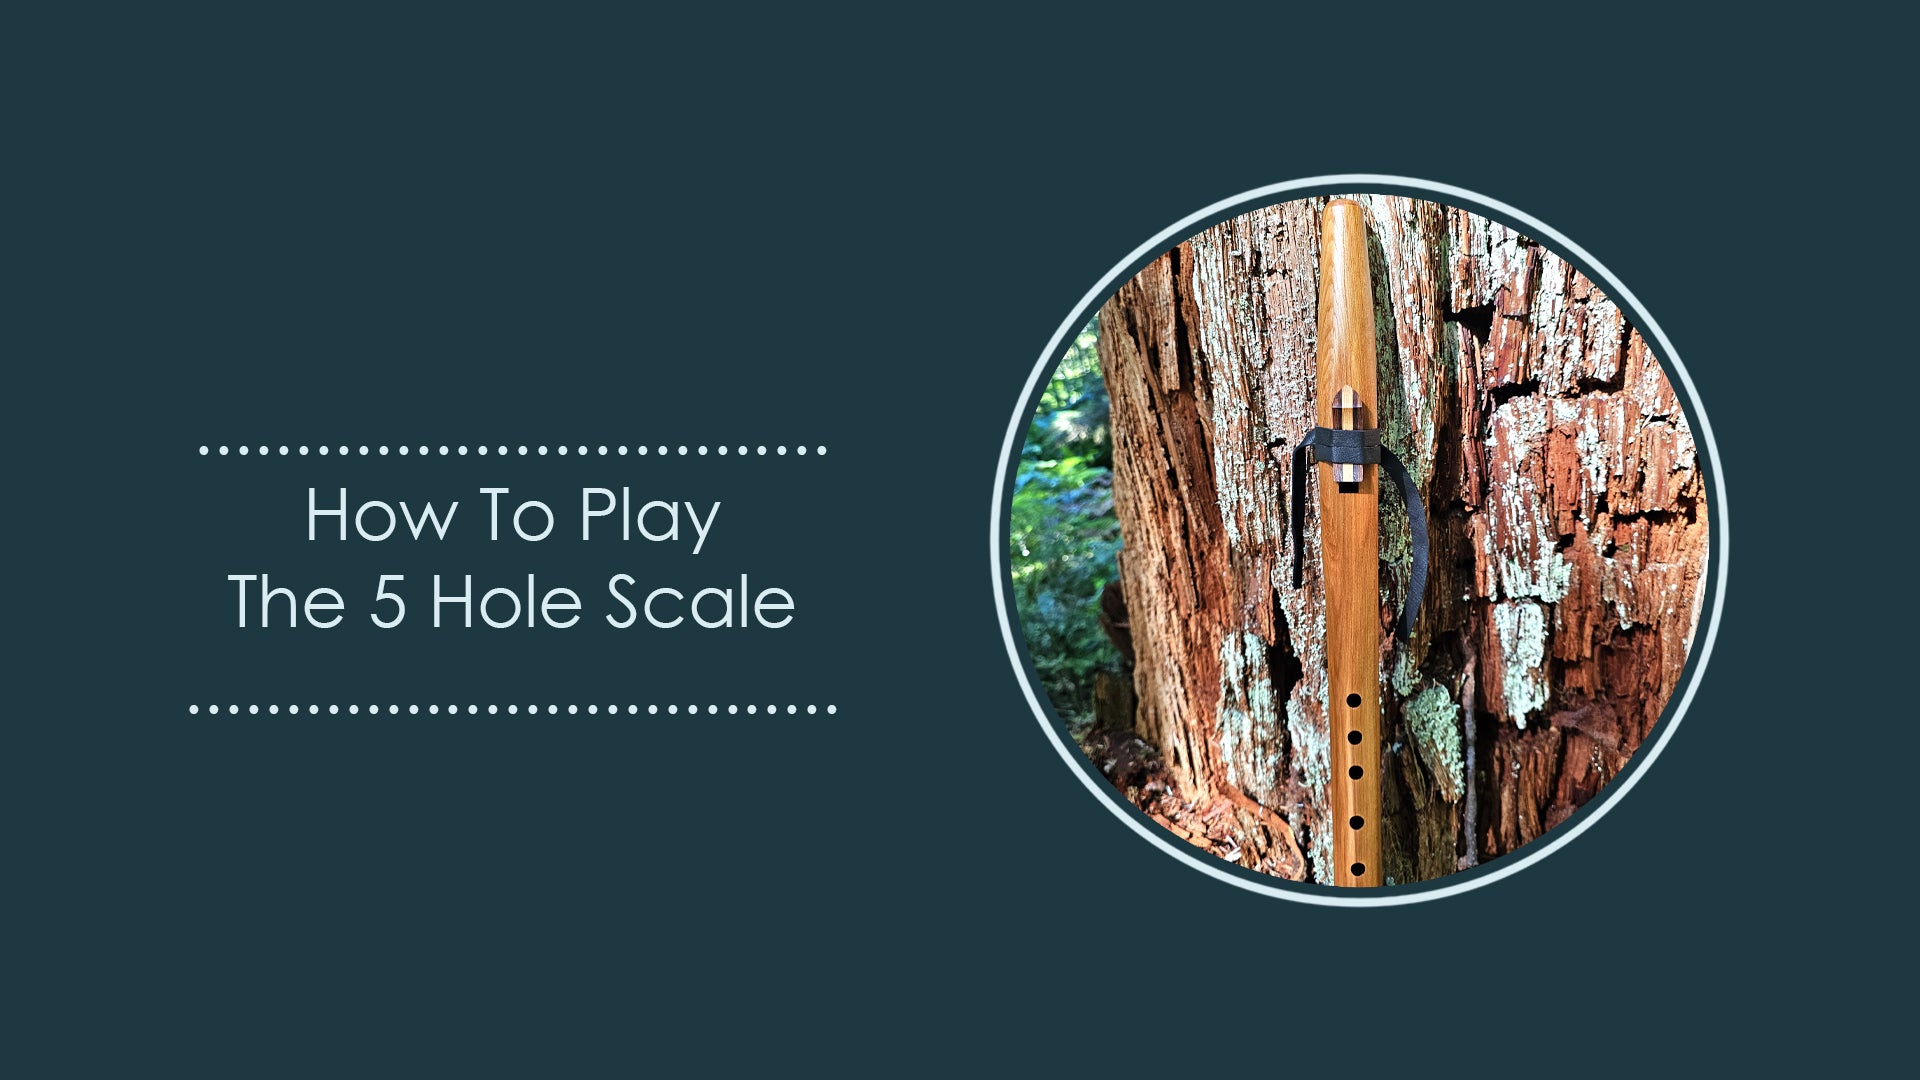
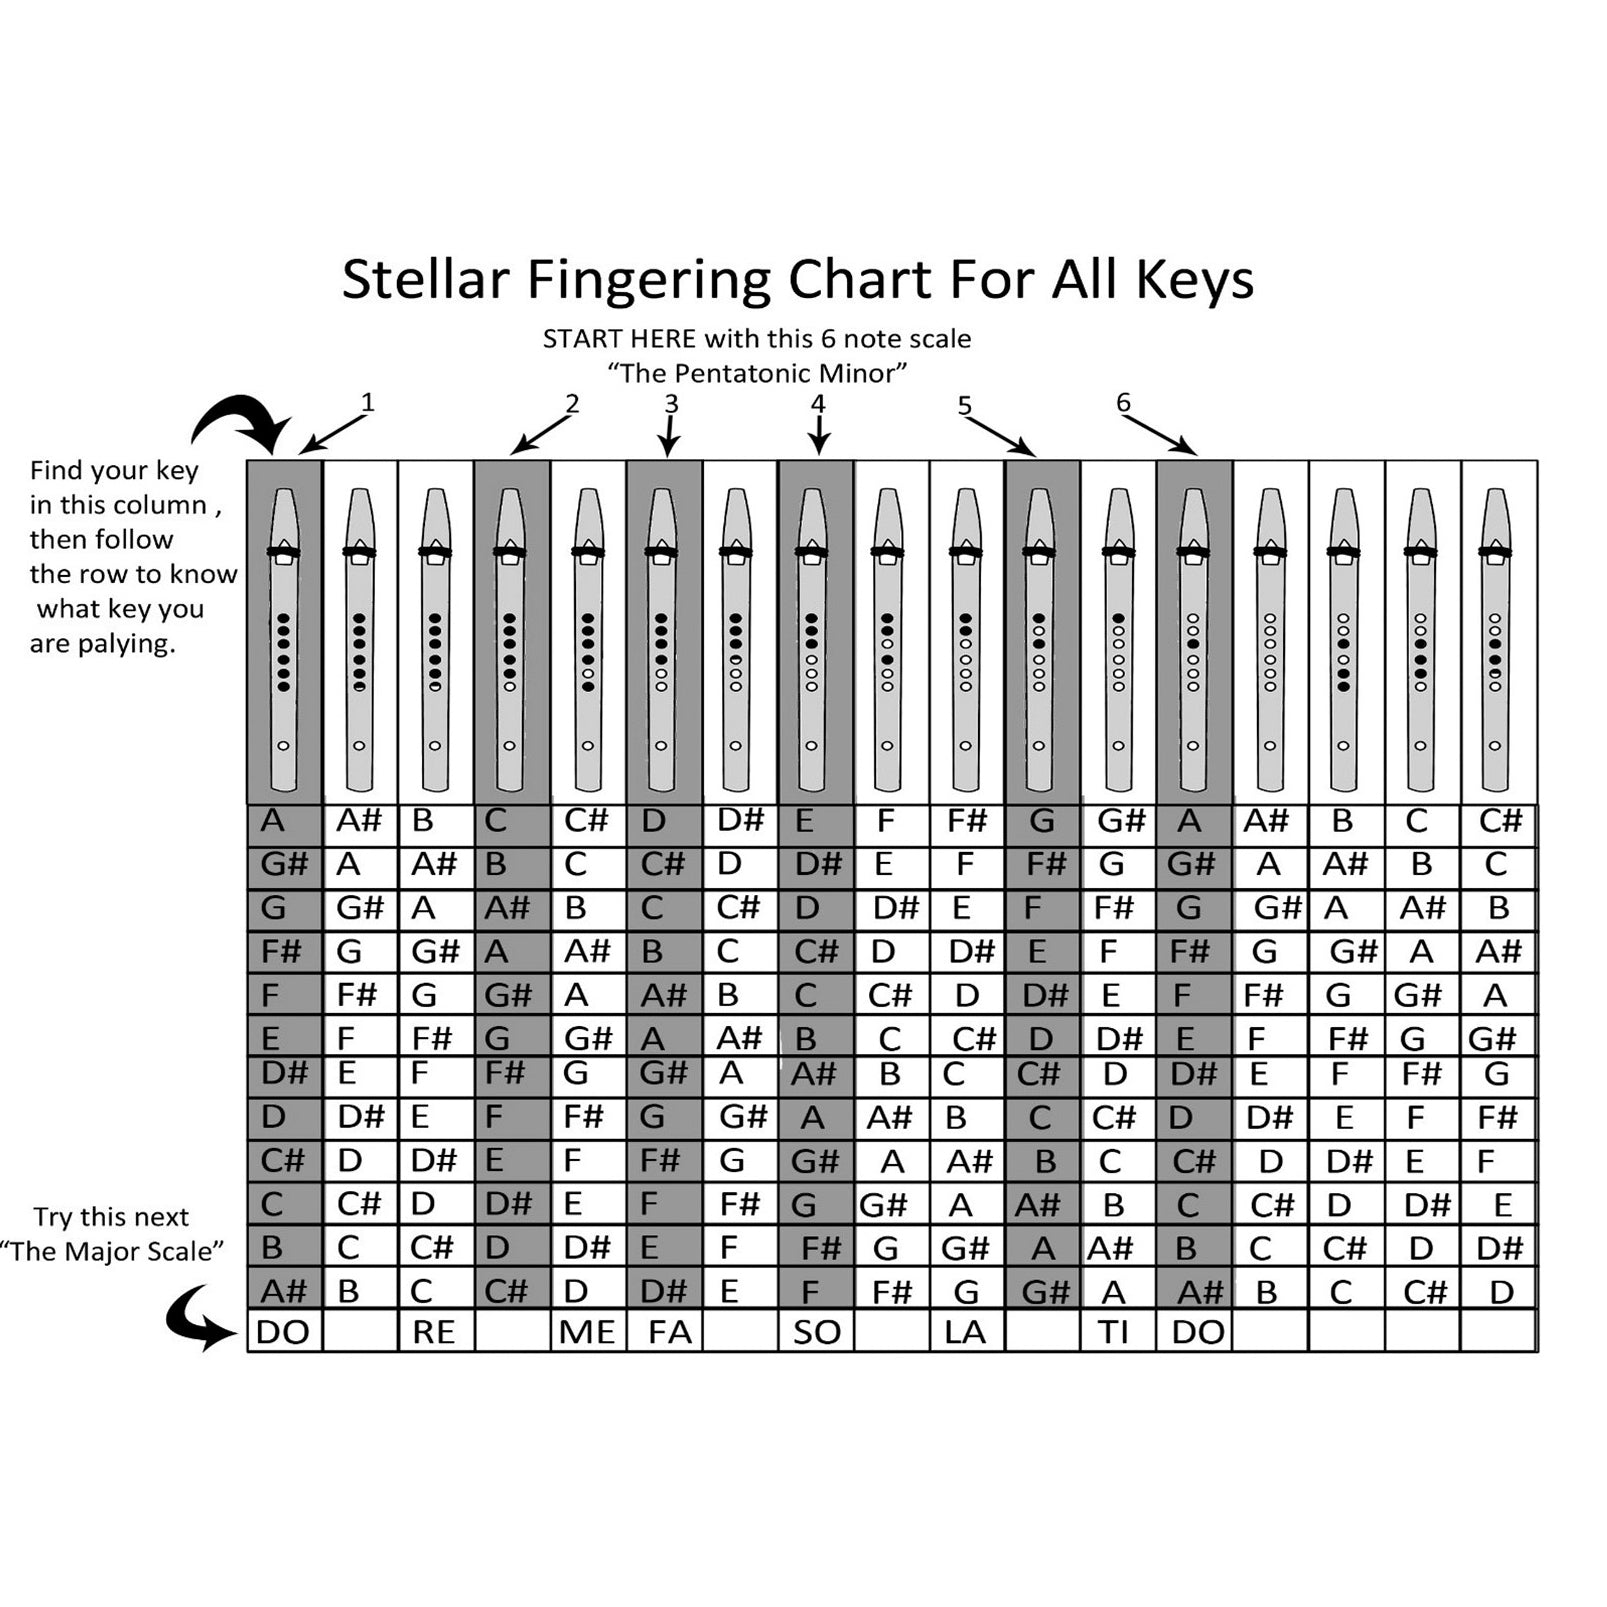
How To Read The Fingering Chart
The last thing that I want to teach you about on your beginner flute playing journey is how to read the finger chart that you will find in the center of the booklet that came with your flute. This chart shows a lot of keys and can be overwhelming to look at and read so let me clarify it for you. You will find your key of flute in the left hand column and follow it to the right to read every note your flute can play. The shaded commons are the scale I taught you in the video above.
Hint: The # symbol is a sharp symbol in music, not a hashtag!
Hint: If you have a Basic Flute or a Pre Tuned Flute Kit, it will be in the key of A, G, or F#. Our flutes have the key written on the back right by the signature and date made.
Once you learn this scale, move on to the major scale which is outlined below the key chart, this will sound really familiar to you because it is used in a lot of music.
If you feel really ambitious, you can look up the notes of your favorite song ( try a simple google search, you can usually find free music online) and use the notes listed on the chart to learn it on the flute. You might find that the flute will not play all of the correct notes, but it might play enough of them for you to get the melody.
Why Buy Stellar?
Our Customer Service and Warranty
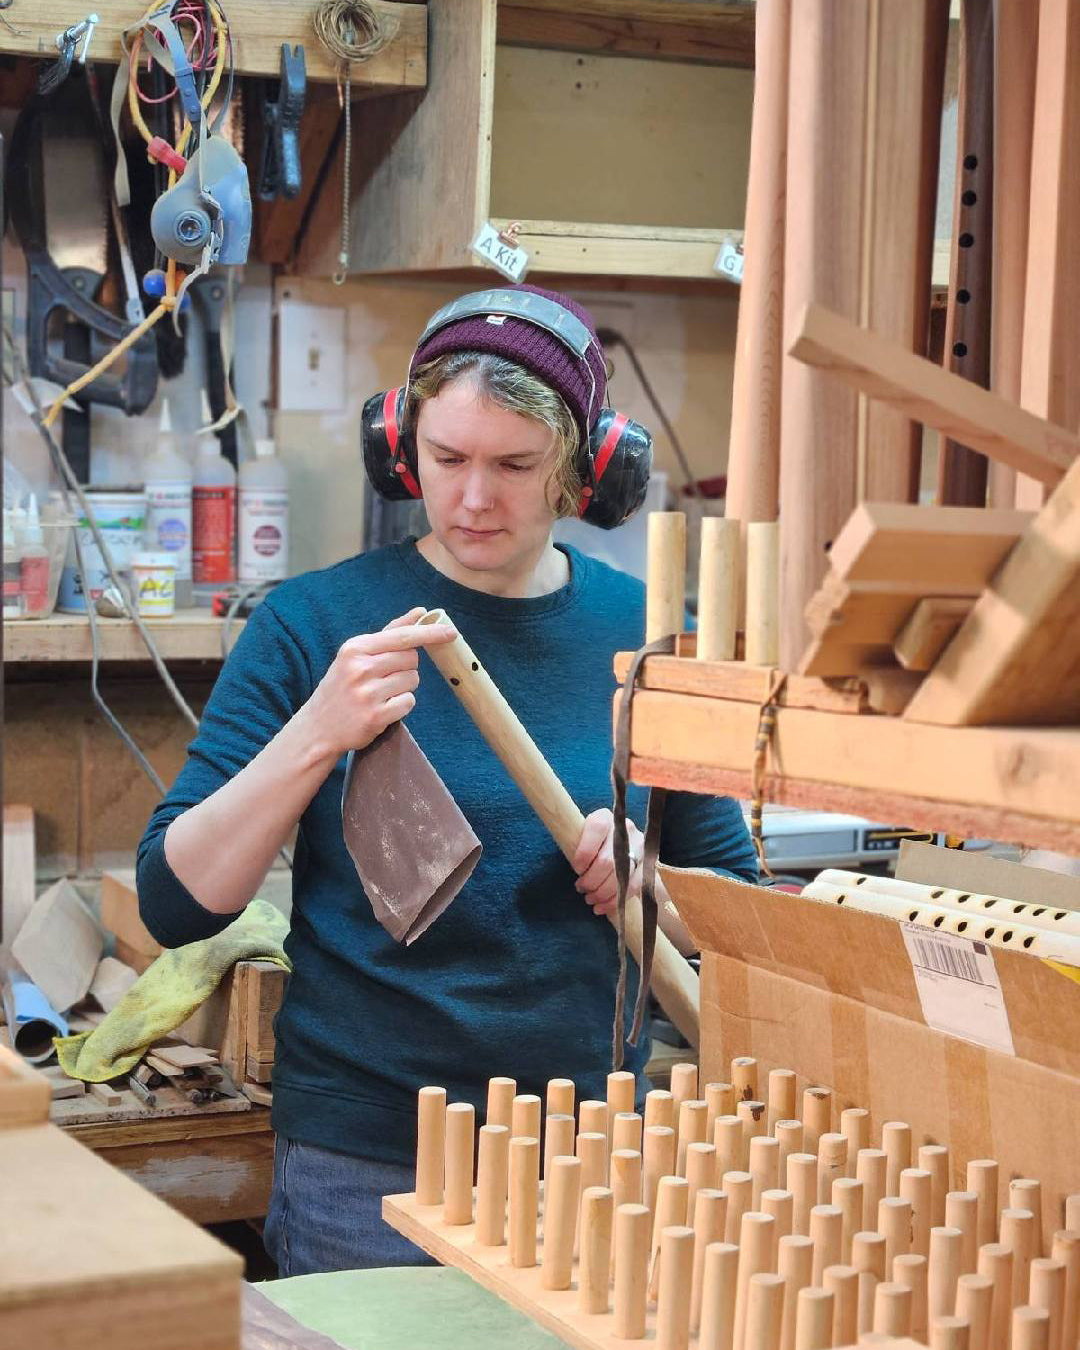
Stellar Flutes is a small family owned and woman run business located in western Washington. Our flutes are all hand made by a small team of artisans. All of our flutes are made 100% within the USA using locally sourced wood.
Your new flute comes with lifetime support and free repairs on structural damage. Yes, even if your dog chews your flute up, we will do our best to fix it!
Our goal is to make sure you love your flute and that you have as much free and easy to understand information that you learn to play it quickly and with as little frustration as possible.